
One of the most difficult and most rewarding part of being a blogger is managing your social media. SO many people interact with websites through social media (I know I do!) that you have to stay on top of it at all times. That doesn’t mean it’s easy, it means that it’s a requirement in order to reach everyone who wants to read. That’s why it’s often necessary to find a program to help you manage your social media and that’s why I love CoSchedule. CoSchedule is a program that allows you to manage your social media accounts all in one place. There are lots of different pieces to CoSchedule, but they make things easy, exist all in one place and make returning to old posts for additional promotion a snap.
The first thing that you do when you sign up for CoSchedule is to add the plugin to your site. I use WordPress, so it only took me seconds to set this up. Once that happens, you have access to your CoSchedule calendar and social media through both your site AND the actual CoSchedule site. Take your pick, but I actually use both.
First I’m going to show you what it looks like in your calendar. Take a look at the image below:
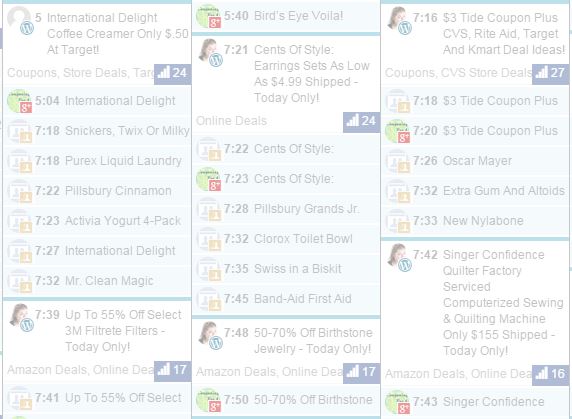 Here you’ll see a bunch of different things. The larger white boxes with my tiny head in them are my actual posts after they’ve been published. If I want to promote any of those posts again on social media, all I have to do is click on them and set it up – but more about that later. In the thinner boxes under those white box posts are social media posts. I have mine set up to be able to access my Couponing For 4 Facebook page, Twitter page, Couponing For 4 Hot Deals Facebook group and Google+. You’ll notice that the posts above are shaded, which means that they’ve already posted. Here is an example of what you see when they’re waiting to post:
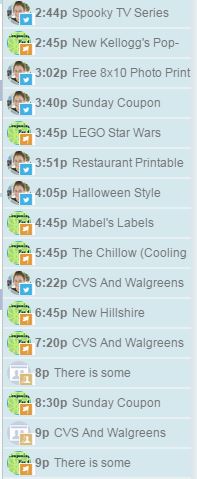 If the posts are still in color, they are live and waiting to schedule at the times listed above (those were of my choosing). If they are shaded, you see the times that they went out and can assume that they posted successfully. All of this is what you see in the calendar, but let me show you what you see in the posts OR the calendar.
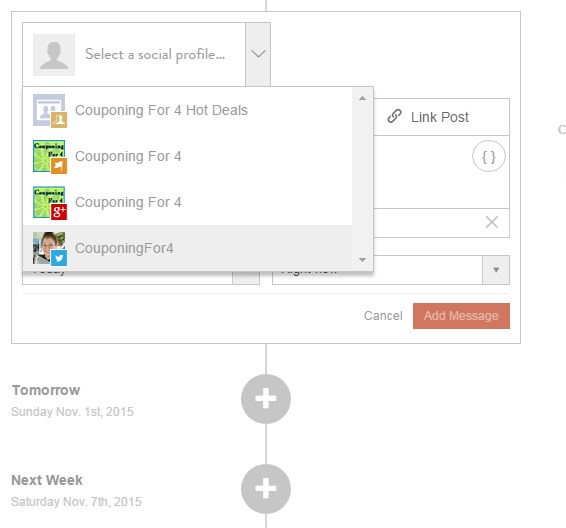 What you see above is located just below my actual post window in WordPress. There is a box that allows you to choose one or all of your social profiles and send out a message. You’ll notice that there are plus signs below this that give you other ideas of when you can also post. You can schedule a post to go out every three days in perpetuity if you want to, you just need to do each one manually. Once you’ve scheduled them, they’re there and waiting to post on the exact date and at the exact time you specified.
Once you’ve chosen the profile you want to use (I typically do each individually, but you can do them all at once), you will choose a “link” post, an “image” post or a “text” post. I only use “image” and “link” for my social media, so here are two examples of what displays when you choose the different options.
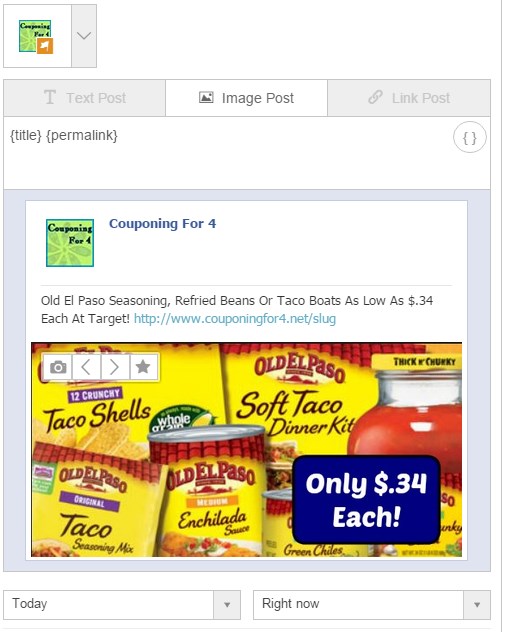
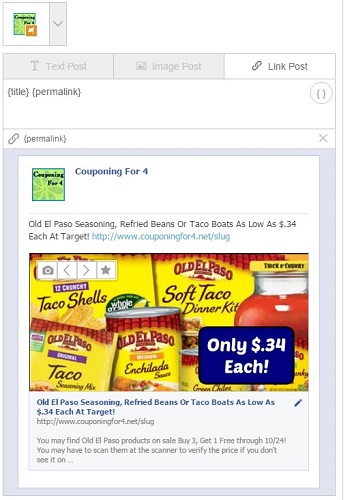 The program grabs the {title} and the {permalink} for you, but you can add anything you want into that box. I often add hashtags for Google+ and Twitter or additional commentary for posts on Facebook. Do what works for you, just do it in an easier way!
CoSchedule offers a free two week trial when you sign up, so you can test it out before registering. I HIGHLY recommend doing that and seeing if CoSchedule is the solution to your social medial craze! It has really helped me organize and re-promote so that my readers are seeing everything. It’s made my hectic day a little bit easier for sure.